
Bangladesh Ecommerce Checkout: A Launch Plan for First-Time Merchants
By PayEurasia Editorial Team · 14 October 2026 · 3 min read
Last updated 14 October 2026
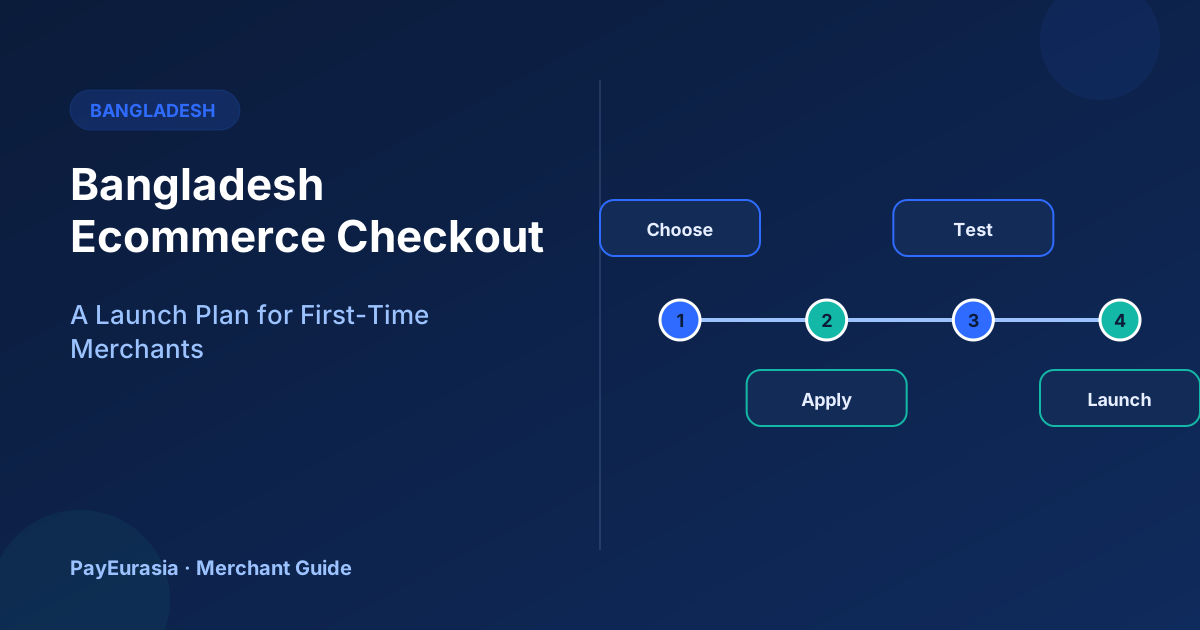
A step-by-step plan for first-time Bangladeshi online sellers to choose payment methods, test checkout, train staff and launch without losing track of orders.
The short answer
A first checkout launch goes well when you decide three things before writing any code: which payment methods your customers will actually use, which provider will process them under a proper merchant agreement, and how a paid order will be confirmed inside your business. Most launch problems in Bangladesh are not technical. They come from unclear order matching, untested refunds and staff who do not know what "paid" looks like.
Step 1: Decide how customers will pay
Start from your buyers, not from a feature list. Ask recent customers how they paid last time and what they would prefer. Typical options for Bangladeshi online stores are mobile financial services such as bKash or Nagad through a merchant or gateway product, cards, bank transfer and cash on delivery.
Be careful about the difference between a personal or agent wallet and an authorized merchant collection product. bKash, for example, describes separate business and online payment services for merchants. Collecting store payments into a personal number may create reconciliation, account and policy problems that a merchant product is designed to avoid.
Step 2: Shortlist and apply to a provider
Compare providers on the questions that affect daily work:
- Which methods are available for your business type, and what documents are required?
- How are fees, settlement timing and refunds described in the contract?
- Does the provider offer a test (sandbox) environment and plugin or API documentation?
- How do you get support when a payment is unclear?
Approval, pricing and eligibility are set by each provider. Plan for the application to take time and do not announce a launch date until you have written confirmation.
Step 3: Map what happens after "Pay"
Draw the order life cycle on one page: created, payment started, paid, failed, expired, refunded. For each state, write who sees it and what they do. The most important rule is that an order becomes paid only when your system receives confirmation from the provider, not when a customer sends a screenshot.
Step 4: Test like a customer
Run test orders on a low-end Android phone and a slow connection. Include at least these cases:
- Successful payment with a small amount.
- Customer cancels in the wallet app and returns to the store.
- Customer closes the browser before returning.
- Full refund and a partial refund.
- Two orders with the same amount placed close together.
Check that each case ends in the right order state and that the receipt is correct.
Step 5: Prepare the team
Write a one-page support note: where staff check payment status, how they answer "I paid but the order shows unpaid", and who approves refunds. Staff should never ask customers for PINs or one-time codes.
Launch-week checklist
- Small soft launch with friends or repeat customers first.
- Daily comparison of orders marked paid against the provider report.
- A visible contact channel and expected response time.
- A written note of every issue and how it was resolved.
Frequently asked questions
Do I need a website before applying to a payment provider?
Many providers ask to review a website or store page with clear product, contact and refund information. Check each provider's requirements before applying.
Should I launch with every payment method at once?
Not necessarily. Starting with the two or three methods most of your customers use keeps testing and support manageable.
If you are planning a checkout and want to discuss collection options, you can start a merchant onboarding enquiry.
Talk to PayEurasia
Working in a high-risk vertical across South Asia? We can probably help.
Request integration →